Author: Jugal Shah

  • SQL Server 2011 AKA Denali Step By Step Installation

    SQL Server 2011 AKA Denali
    As we all aware about that, Microsoft has released SQL Server 2011 CTP1. CTP stands for Community Technology Preview and it is a beta version of upcoming release.

    Minimum Software and Hardware Requirement

    • We can install Denali on both the file system formats (FAT32 and NTFS) but the Microsoft recommends NTFS file format.
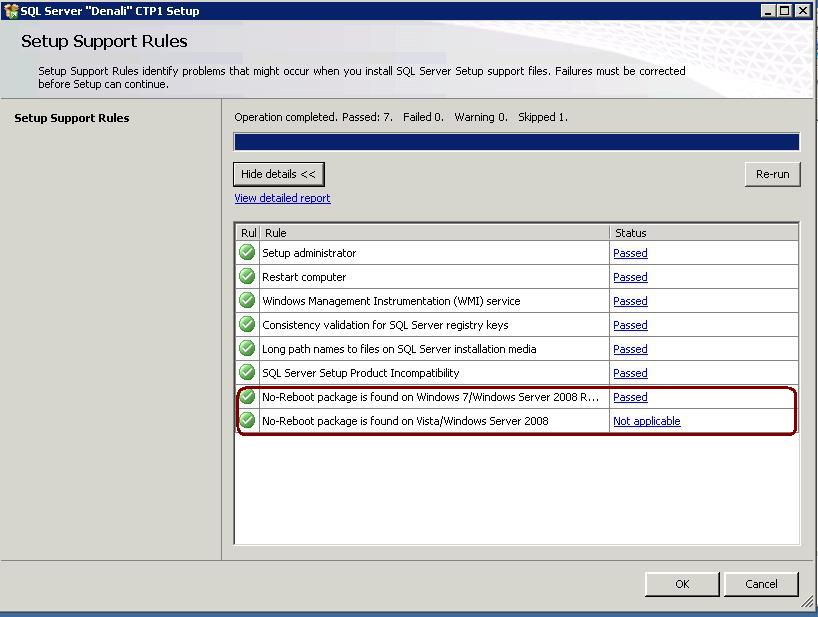
    • Your Operating system must have “no-reboot” package installed prior to installing SQL Server 2011. By default it is included in Windows 7 SP1 and Windows Server 2008 R2. For the other OS you can download No Reboot package from http://support.microsoft.com/kb/982526 link.
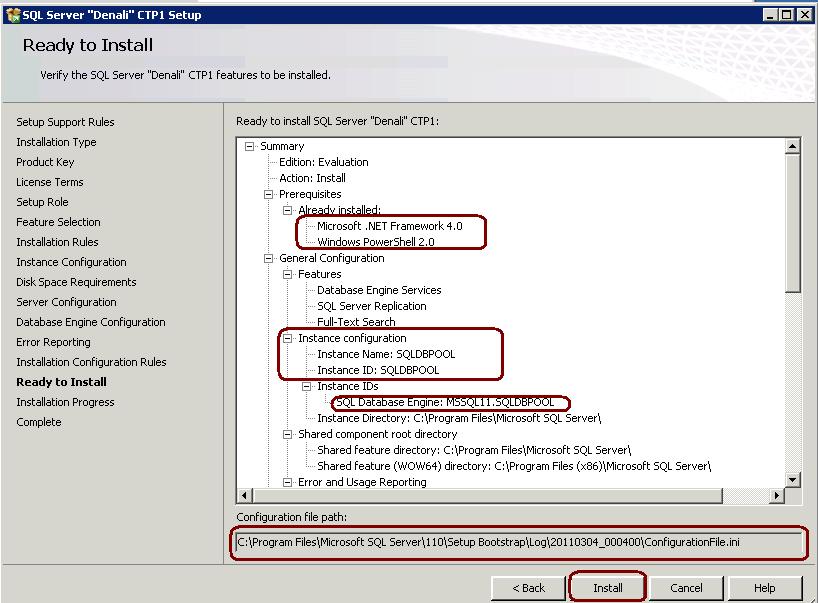
    • .NET Framework 4.0
    • Virtualization is supported using Microsoft’s Hyper-V technology.
    • At least 3.4GB free disk space
    • At least 2GB RAM
    • Windows PowerShell 2.0 is a pre-requisite

     
    SQL Server 2011 AKA Denali Installation Steps

    Step 1 : Go to Setup folder and click on Setup.exe

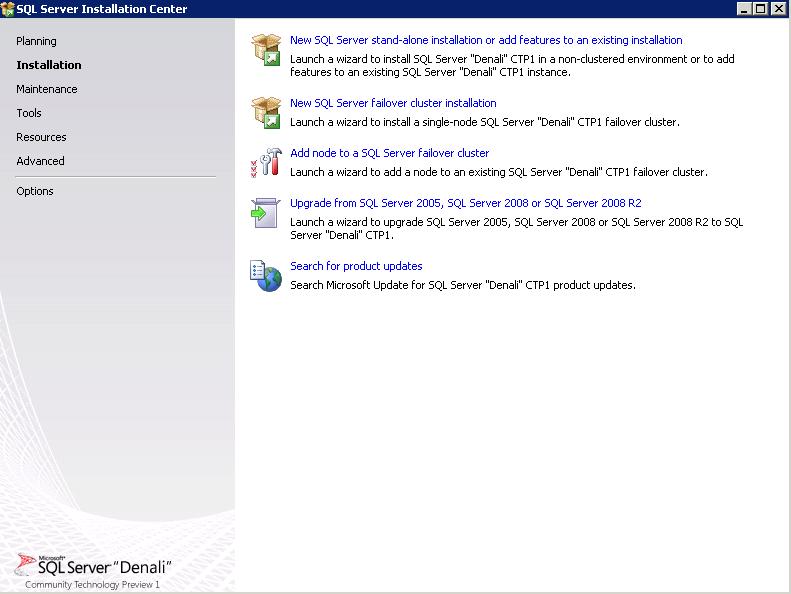
    Step 2: Go to Installation Page and Select Stand Alone Installation
    Step 3: Setup will validate the the OS for minimut requirement. You must have noReboot Package installed.
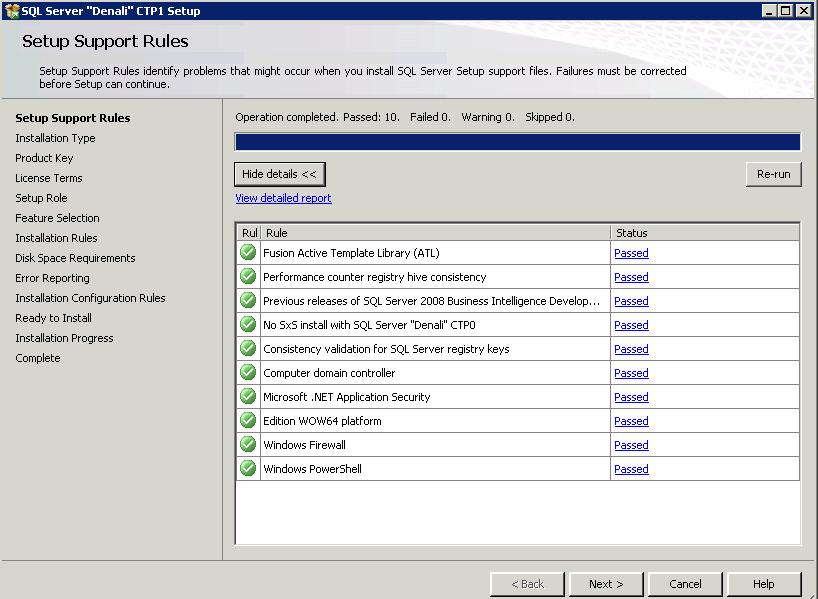
    Step 4: Setup will again the check the rules for example Power Shell, Firewall, .Net Framework Security etc
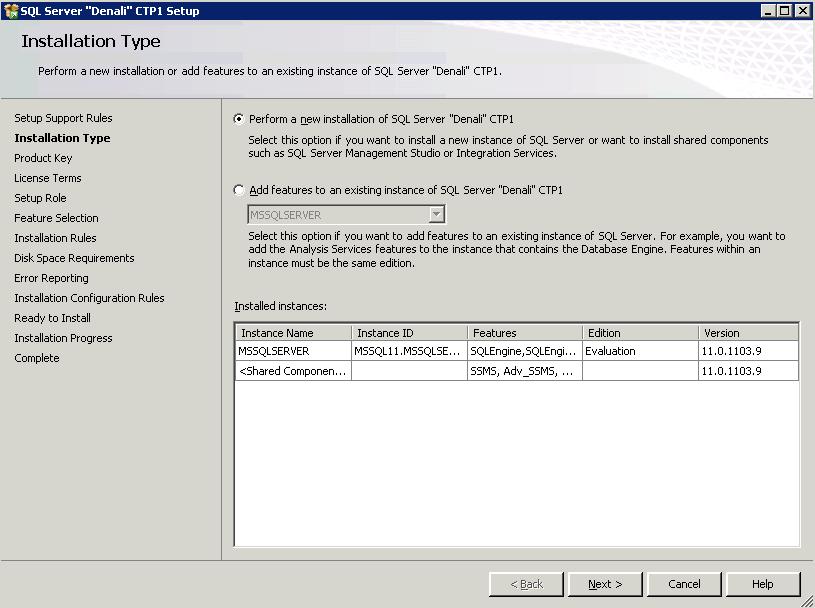
    Step 5: Give you an option of new installation or add features to existing instance.
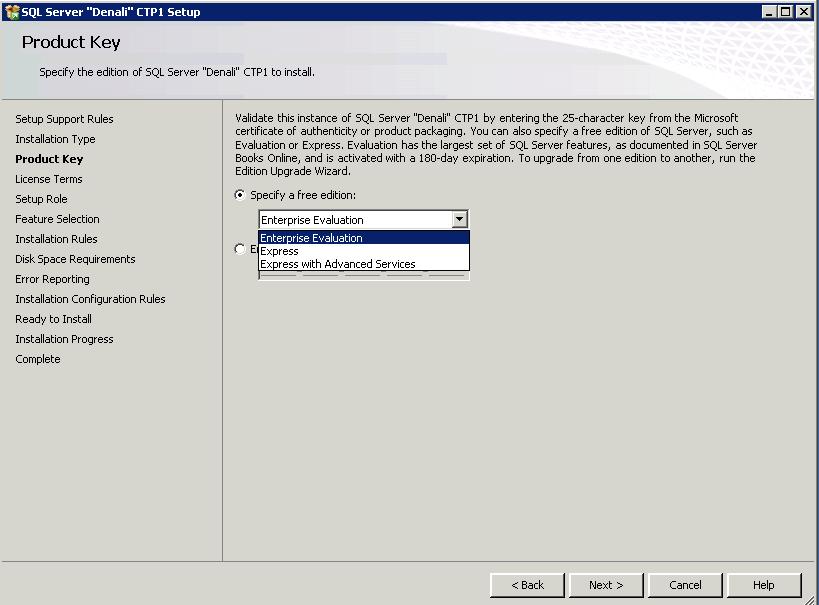
    Step 6: Give you an option to Select edition
    Step 7: Accept Agreement Screen
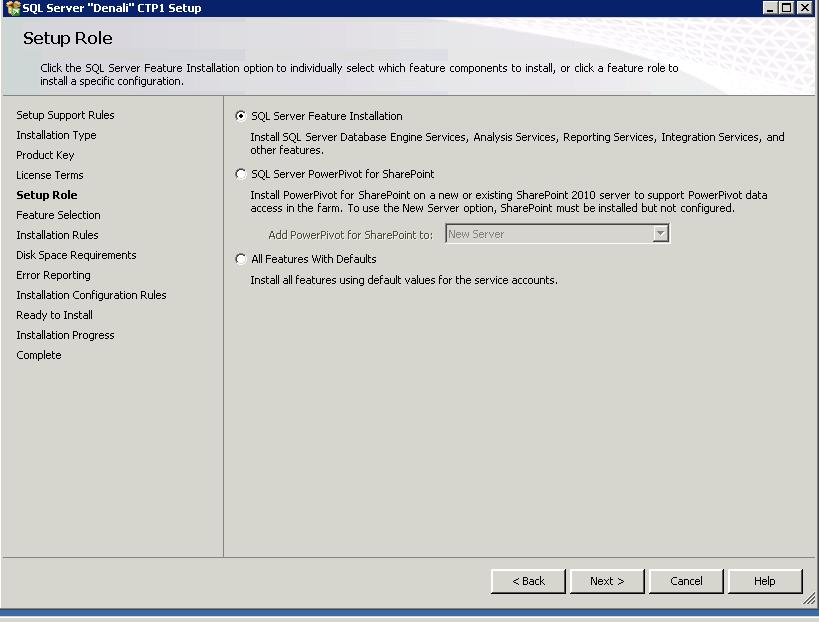
    Step 8: Give you an option to select required feature
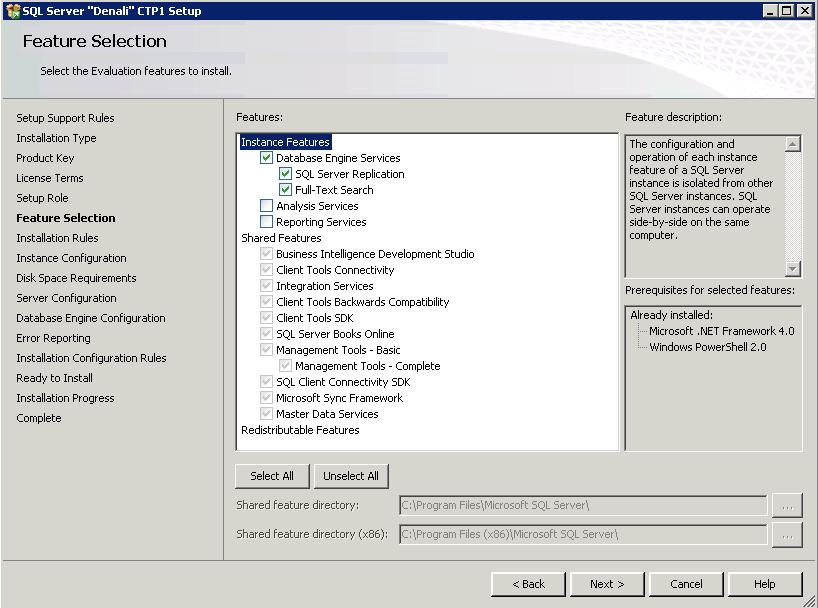
    Step 9: Give you an option to select the instance level features
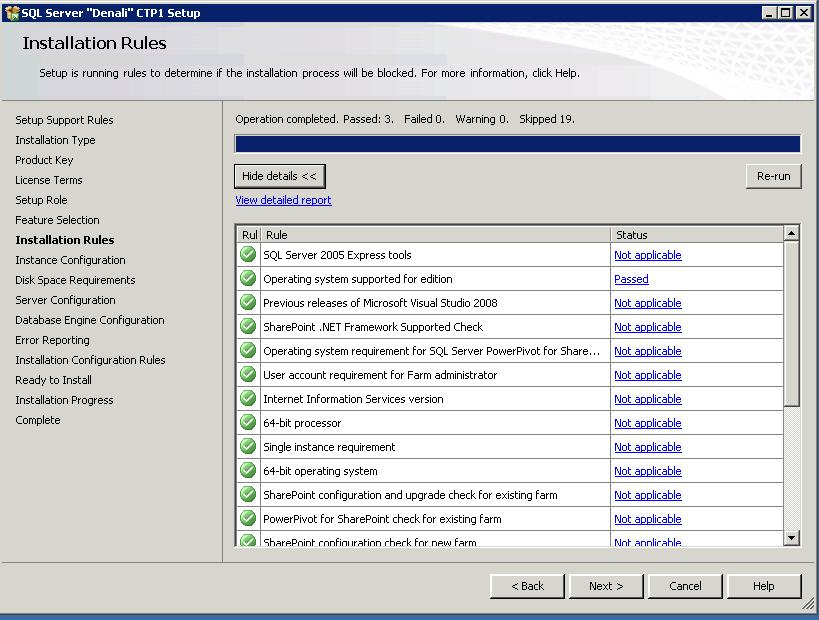
    Step 10: Again validate the server for the selected features
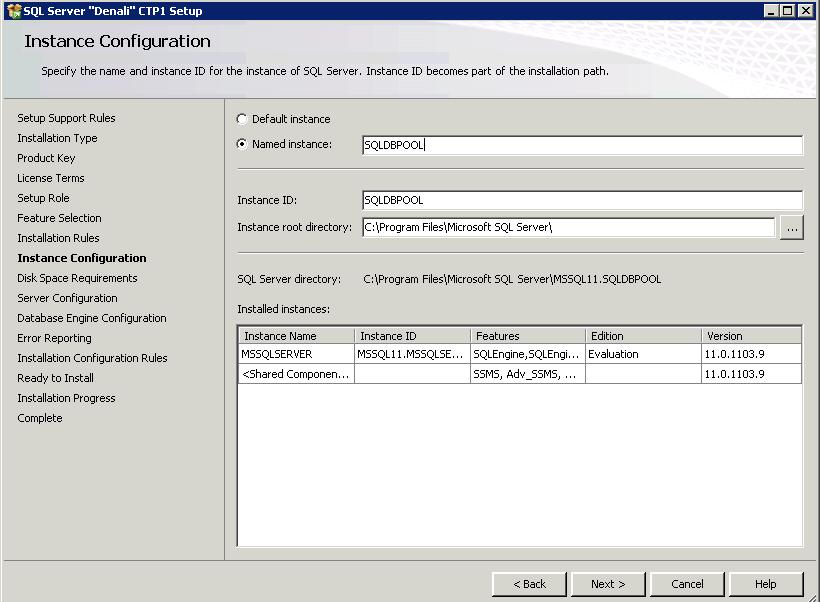
    Step 11: Gives you an option to select the named instance/default instance
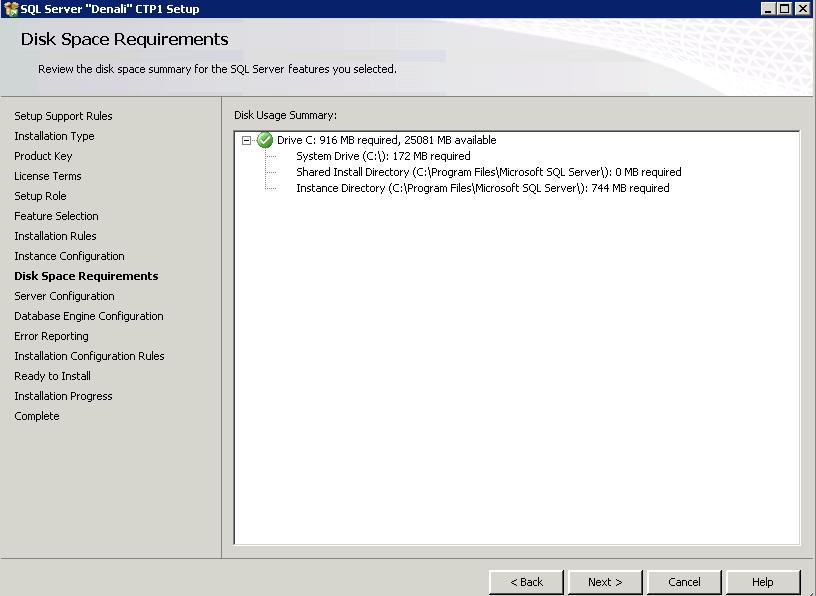
    Step 12: Will show your the disk space required for the selected features
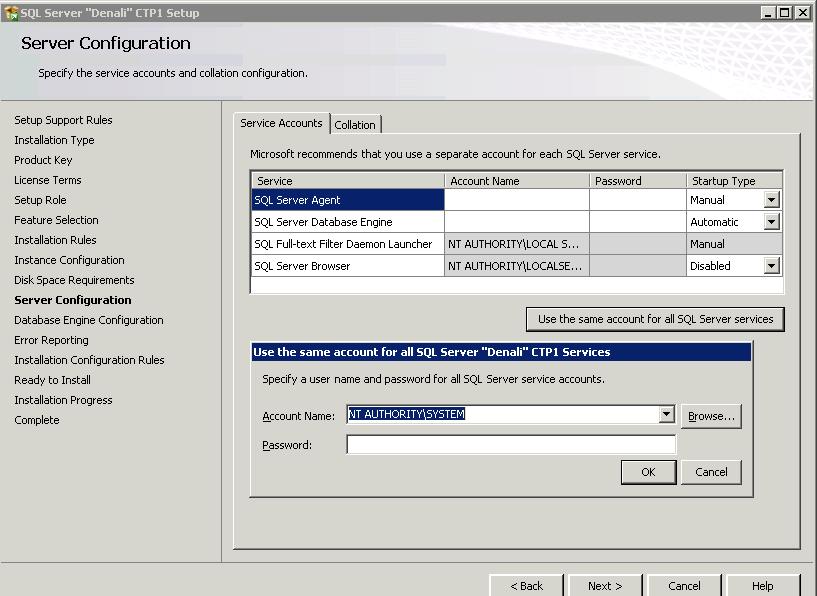
    Step 13: Specify the service accounts
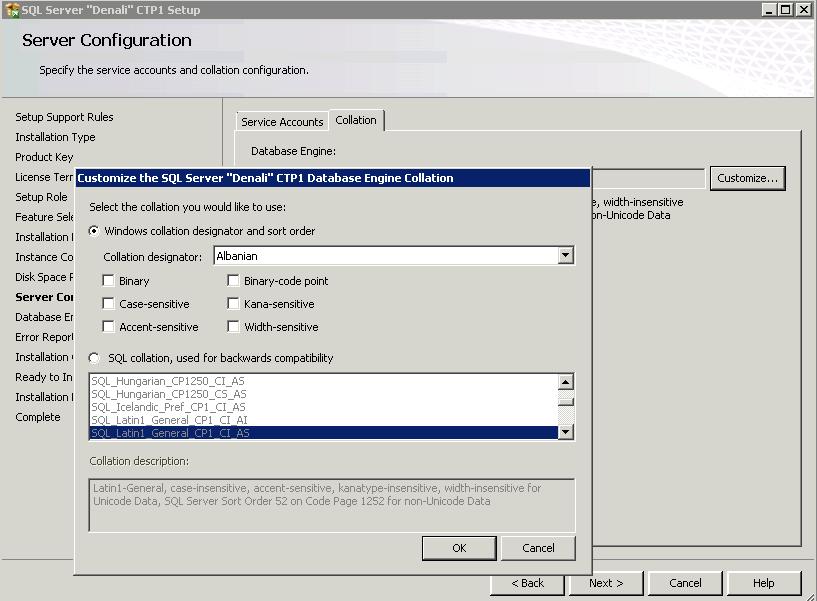
    Step 14: Specify the collation
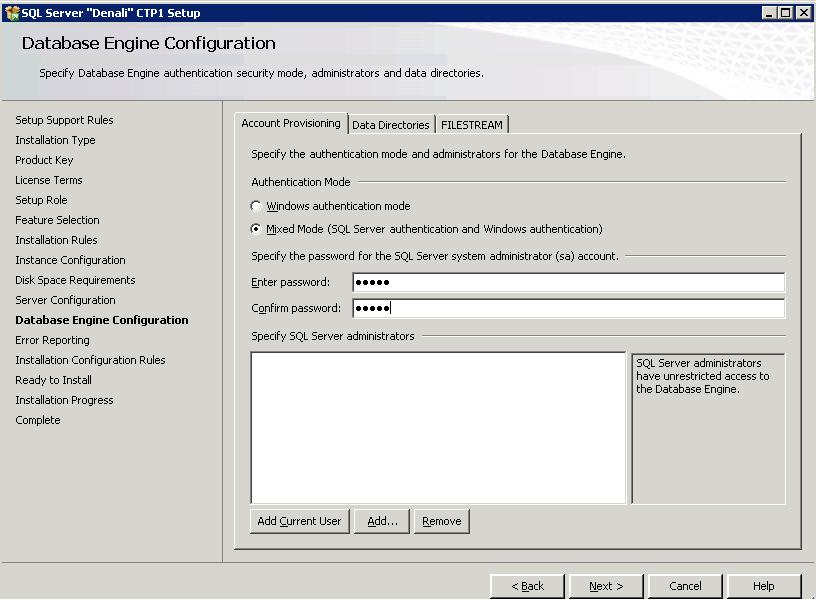
    Step 15: Specify the Authentication Mode, Data Directories and File Stream
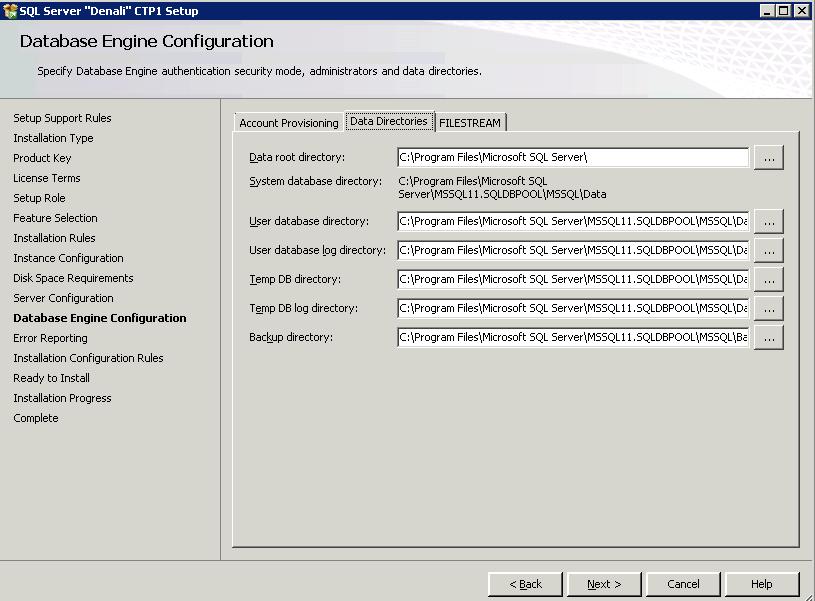
    Step 16: Data Directories Configuration

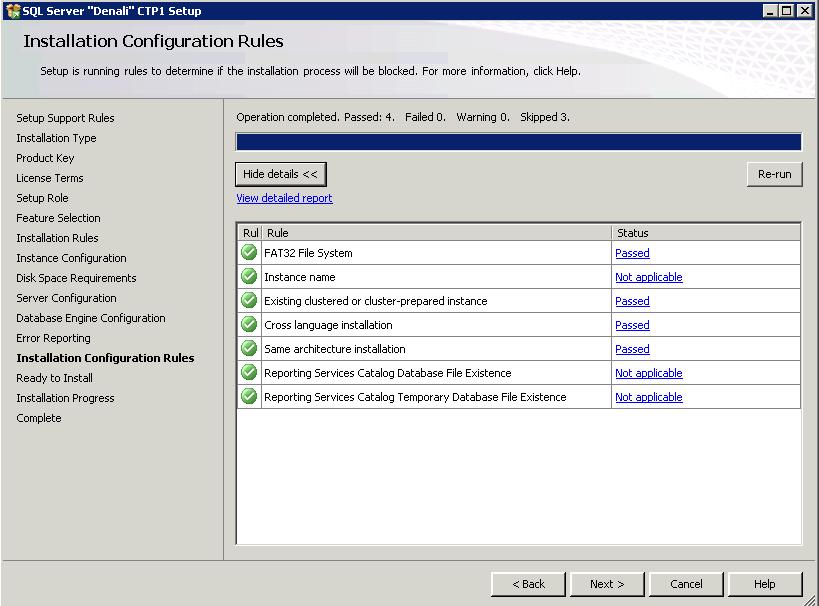
    Step 17: Click on Install and Installation will proceed.
  • Policy Based Management in SQL Server 2008

    Policy-base Management is a new feature in SQL Server 2008 that helps SQL Server administration. It allows us to define and enforce policies for configuring and managing SQL Server across the enterprise. The policy-based framework implements the policies behind the scene with a Policy Engine, SQL Server Agent jobs, SQLCLR, DDL triggers and Service Broker. Policies can be applied or evaluated against a single server or a group of servers.

    To understand PBM we have to understand the below terms.
    Target – an entity that is managed by PBM (i.e. database, table, index, etc.)
    Facet – a predefined set of properties that can be managed
    Condition – a property expression that evaluates to facets on target and returns True or False;
    Policy – a condition to be checked and/or enforced

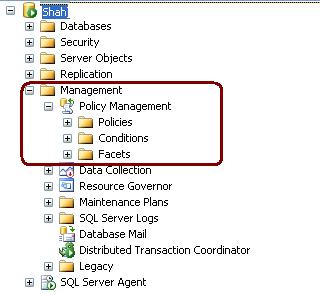
    Expand the Management Node to use the PBM.

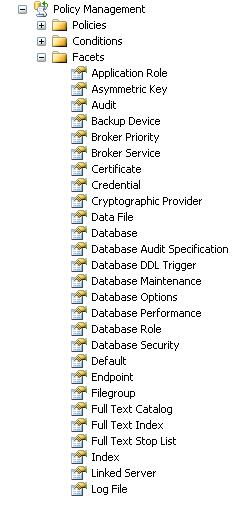
    Expand the facets node to checkout the facets.

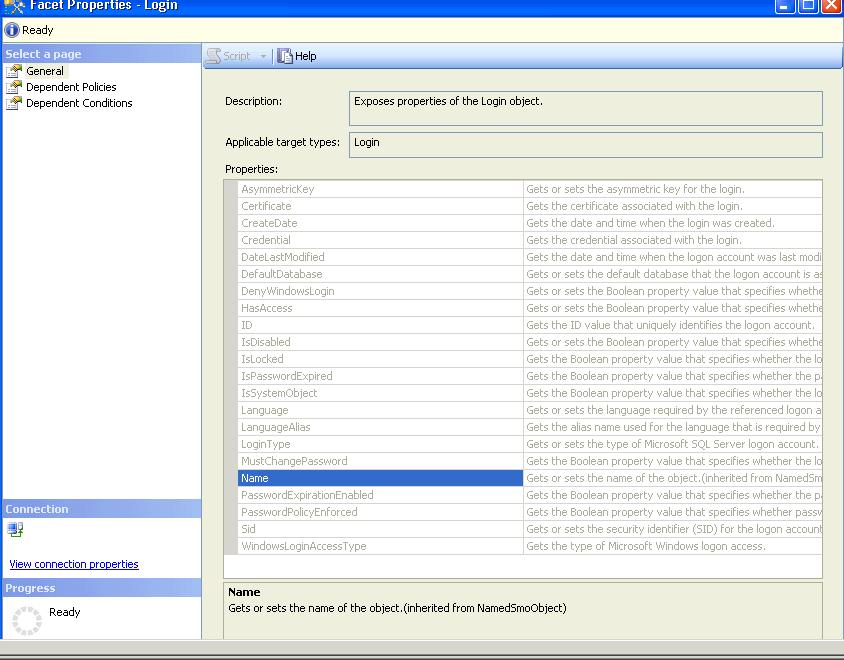
    To Check out facets properties double click on facets. I have clicked on Login Facets. These facet properties are used to specify a condition

  • Undocumented Server Property ErrorLogFileName

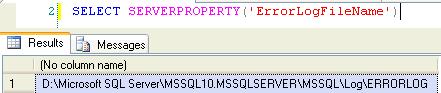
    You can use Server Property errorlogfilename to get the error log file path.

    SELECT SERVERPROPERTY(‘ErrorLogFileName’)

  • How to Hide System Objects in Object Explorer?

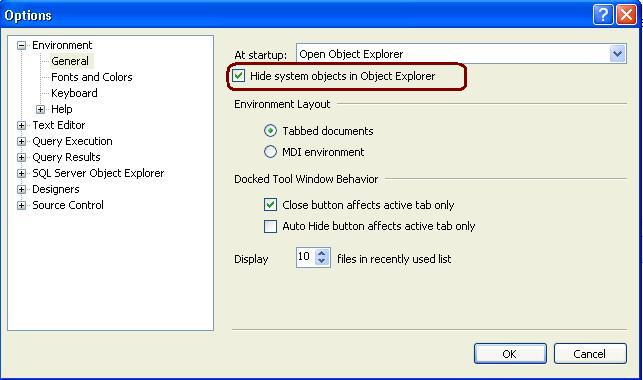
    Open SSMS -> GO TO Tools -> Option and Check the below highlighted check box and restart the Management Studio. It will hide all the system objects in Object Explorer.

  • Step By Step Log-Shipping Configuration for SQL Server

    Setting up Log Shipping for SQL Server is not that difficult, but having a step by step process is helpful if this is the first time you have setup Log Shipping. In this tip we walk through the steps to setup Log Shipping.

    To read the step by step Log-Shipping steps CLICK ME to read it.

    Or Open http://mssqltips.com/tip.asp?tip=2301 link