Step 1: Open SSMS
Step 2: Connect to desire Server and right click on the server (for i.e. sqldbpool) and Select properties
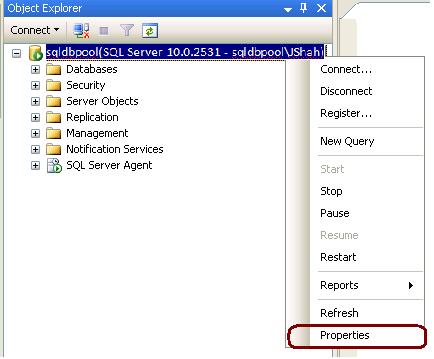
Step 3: Click on memory tab and configure Min and Max memory
Step 1: Open SSMS
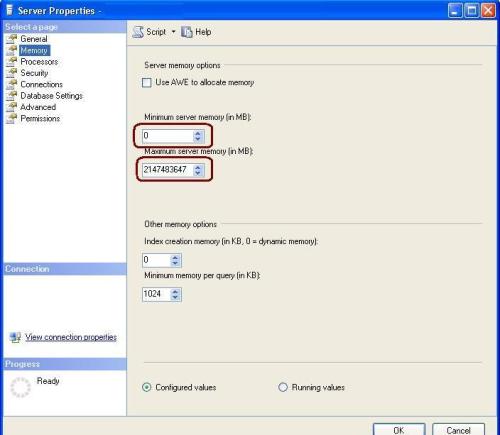
Step 2: Connect to desire Server and right click on the server (for i.e. sqldbpool) and Select properties
Step 3: Click on memory tab and configure Min and Max memory
Like SQL Server 2005, SQL Server 2008 supports clustering using both the Standard and Enterprise editions. The Standard edition supports a two-node cluster, and the Enterprise edition supports the maximum number of nodes that the OS supports
The biggest changes in SQL Server 2008 cluster is that you can now use DHCP for clustering and use IP addresses from different subnets for each side of the cluster. The ability to use IP addresses from different subnets is most useful for creating multisite clusters, called geographically distributed clusters.
SQL Server Cluster Installation
Step 1: I hope you had done with all the pre-requisites required by cluster.If you’re installing SQL Server 2008 in a cluster on Windows 2003, you’ll need to download and install the hotfix specified in the Microsoft article at http://support.microsoft.com/kb/937444 before you can install SQL Server 2008.
Note: Installation of above hotfix requires a reboot, so you have to cancel out of the installer at this point and restart the process after installing that hotfix on all your cluster nodes.
Step 2: Open SQL Server 2008 installation executable file from your CD\DVD\Shared location
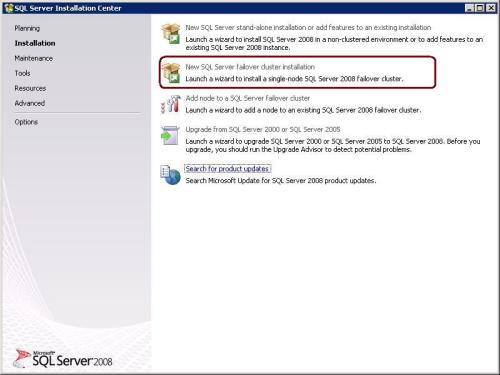
Double click on installation.exe and you will find the below screen. Now select New SQL Server Failover Cluster installation option highlighted as in below image. (Note: For standalone installation we have to select standalone option)
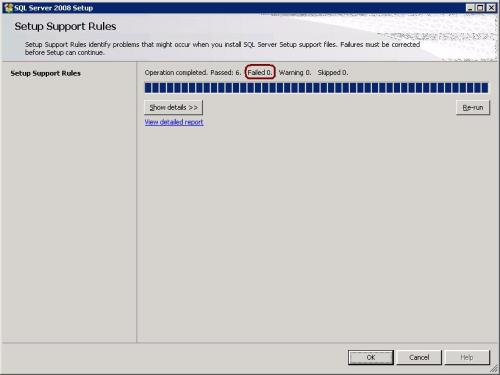
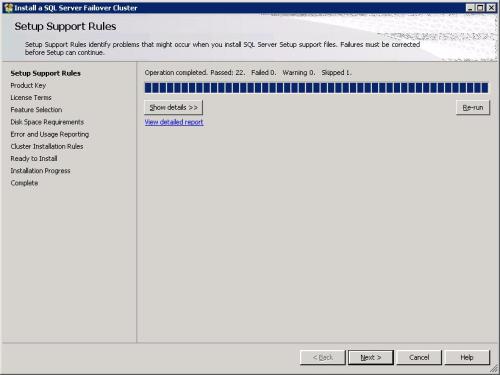
Step 3: Once you have selected Step 2 option, installation will check for setup support rules to identify the problem. If it is failed due to any reason, you have to correct the issue. Please find the below screen shot. If it passed click on OK command button.
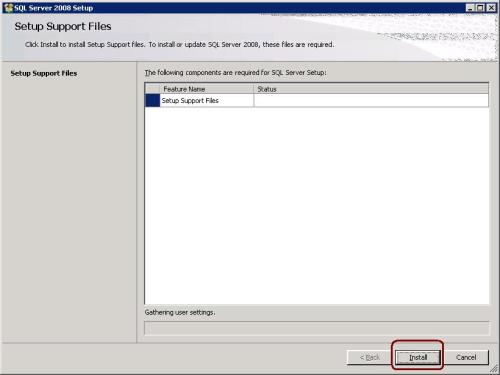
Step 4: Installation wizard will install the setup support files, click on Install command button
Step 5: This step will walk you through all the required information as below. Click on Next button
1. Product Key
2. Licence Terms
3. Feature Selection
4. Disk Space Reuirements
5. Error and Usage Reporting
6. Cluster instllation Rules
7. Ready to install
8. Installation Progress
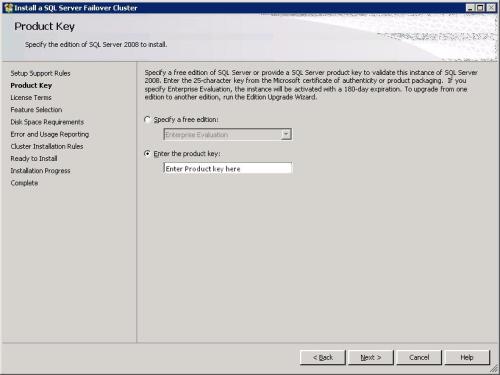
Step 6: Enter Product Key or It will take automatically. See the below image for it.
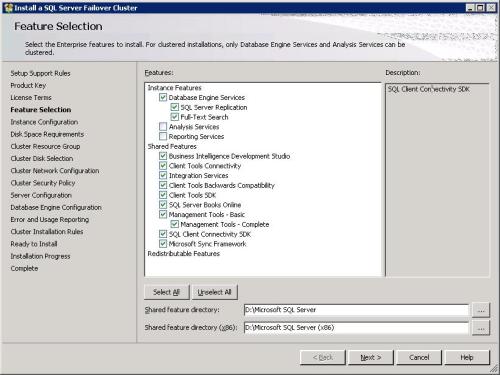
Step 7: Select required features, which you want install.
Step 8: Specify the Network Name/Virtual Name for SQL Server to failover. As we are installing Active-Passive cluster we have to specify one virtual/network name. (Note: For Active-Active clustering you have specify different network names as per the number of nodes)
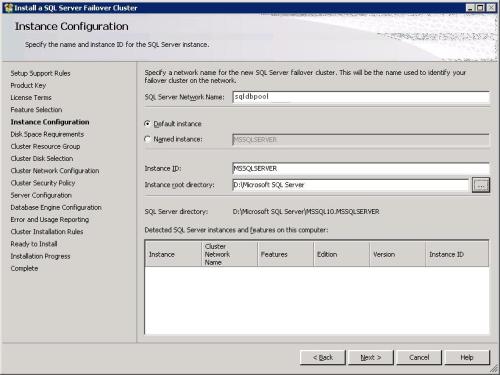
Step 9: SQL Server will review the disk space requirement for the features you have selected
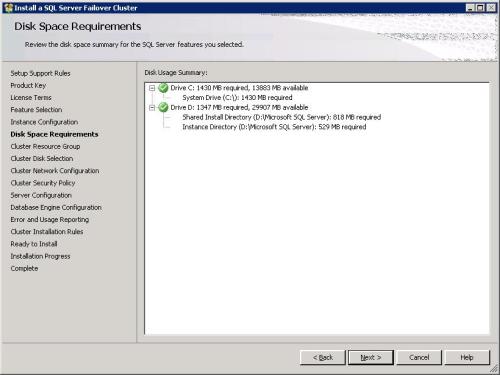
Step 10: This step will create a new cluster resource group for your SQL server failover. Please see the note in the image.
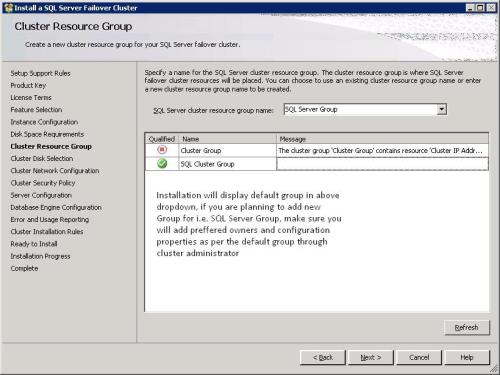
Step 11: Select shared cluster disk resources for your SQL Server failover cluster
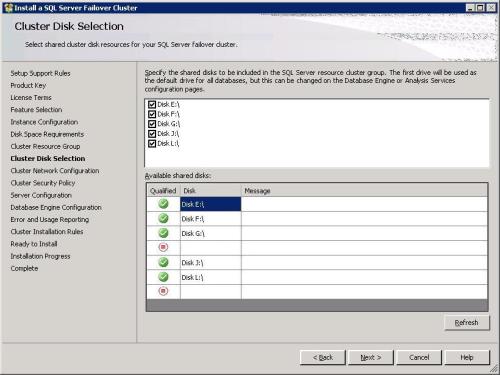
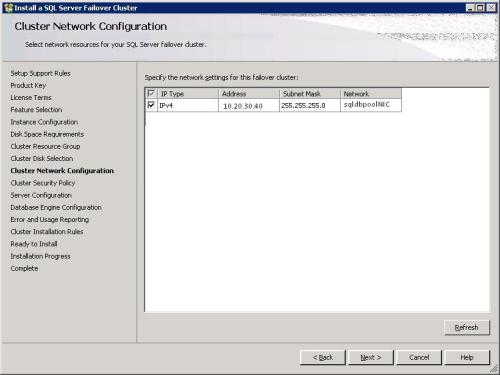
Step 12: Here you have to select network resources for your SQL Server failover cluster. You have to add IP address as well.
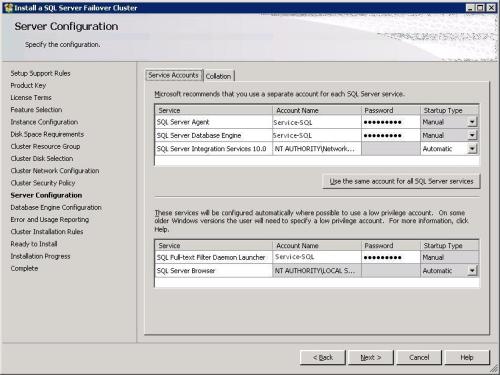
Step 13: Here you have to specify the service account for SQL Server services. It is a best practice always keeps SQL Services in cluster in manual mode
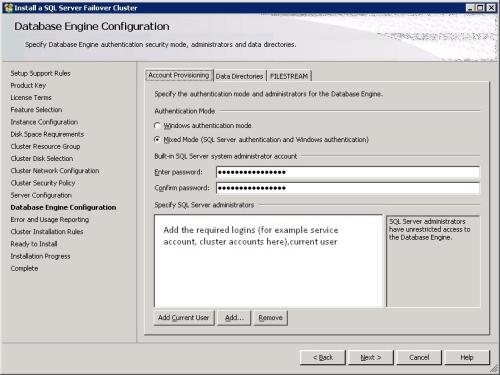
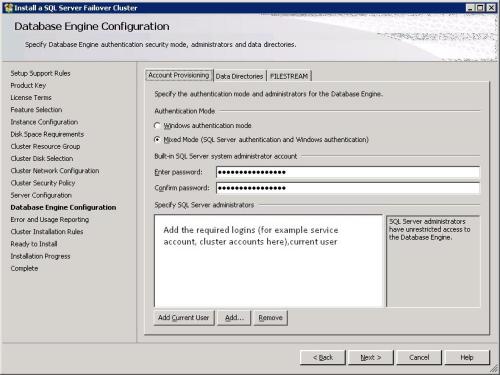
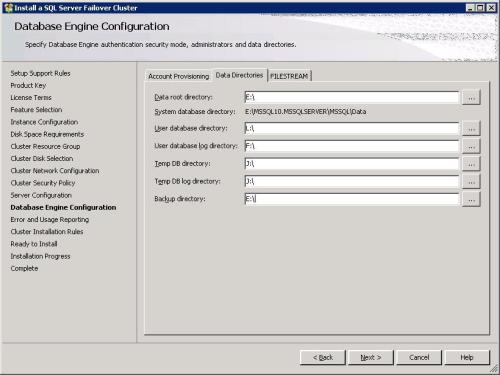
Step 14: Specify the authentication more and SA password in account provisioning tab, configure the location of the data files, log files, temp database in data directories tab and enable file stream as per the requirement
Step 15
Step 14: Specify the authentication more and SA password in account provisioning tab, configure the location of the data files, log files, temp database in data directories tab and enable file stream as per the requirement
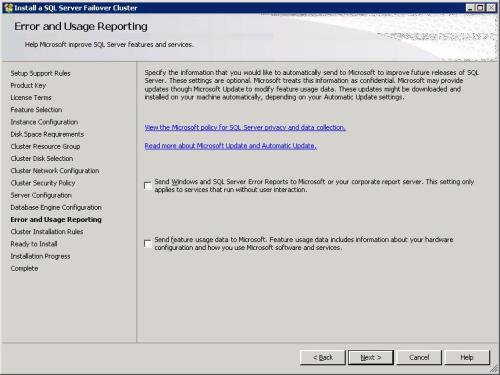
Step 15: Select check boxes as per your requirement, I haven’t checked any option. Proceed with the next button
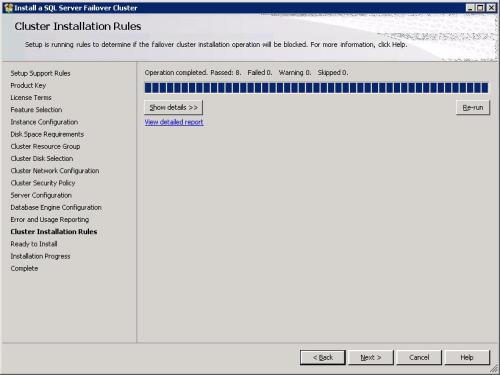
Step 16: Installation wizard will check the cluster installation rules, please correct if you found any failure and proceed with the next button
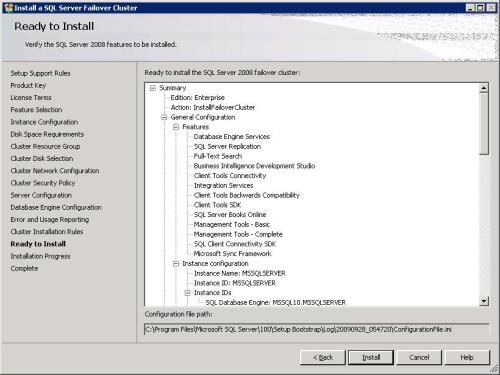
Step 17: Now your SQL Server cluster is ready to install. Click on Install button
Step 18: Apply the required Service Pack/Patch and reboot the server
Step 19: Once installation is done on this node, we have to proceed with the installation of SQL Server on the other cluster nodes. SQL Server 2005 was the last edition of SQL Server to automatically install SQL Server on all nodes at once. Beginning with SQL Server 2008, we must manually install and patch each cluster node individually. This process allows for less downtime as we are patching the cluster or upgrading your cluster from SQL Server 2005 to SQL Server 2008.
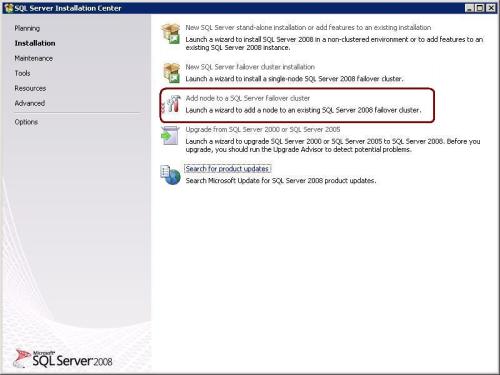
Step 20 Installation on the other nodes is similar to installing on the first node except that we have select the Add Node to a SQL Server failover cluster option from the initial menu. The same software requirements apply to the other nodes in the cluster, so the installer will handle the verification and installation of these components as well.
Because most of the settings are picked up from the other node(s) in the cluster that already have SQL Server installed on them, the process of adding a node to the cluster is bit shorter than installing on the first node
Step 20 Installation on the other nodes is similar to installing on the first node except that we have select the Add Node to a SQL Server failover cluster option from the initial menu. The same software requirements apply to the other nodes in the cluster, so the installer will handle the verification and installation of these components as well.
Because most of the settings are picked up from the other node(s) in the cluster that already have SQL Server installed on them, the process of adding a node to the cluster is bit shorter than installing on the first node
cluster group “SQL Server Group” /move: Physical_Name_Of_Node1
cluster group “SQL Server Group INST2” /move: Physical_Name_Of_Node2
cluster clusterName resource >> clusterResourcestatus.txt
Note: Text highlighted in Blue color is command or parameter you can execute.
Recently I received below error while executing XP_ReadErrorlog command from SSMS.
Msg 22004, Level 16, State 1, Line 0
Failed to open loopback connection. Please see event log for more information.
Msg 22004, Level 16, State 1, Line error log location not found
As per the above error message I have checked event viewer log and got the below information from event viewer log.
The description for Event ID ( 17052 ) in Source ( MSSQLSERVER ) cannot be found. The local computer may not have the necessary registry information or message DLL files to display messages from a remote computer. You may be able to use the /AUXSOURCE= flag to retrieve this description; see Help and Support for details. The following information is part of the event: Severity: 16 Error:18456, OS: 18456 [Microsoft][SQL Native Client][SQL Server]Login failed for user ‘domain\service-sql’..
I have opened error log file from log directory and observed the number of login service-sql with the state 11.
2009-09-30 22:45:31.69 Logon Login failed for user ‘domain\service-sql’. [CLIENT: 10.10.10.10]
2009-09-30 22:45:34.26 Logon Error: 18456, Severity: 14, State: 11.
Service-SQL account has sysAdmin rights on SQL Server and it is added through SQL Server Service – Production AD group. I can see this AD group has SysAdmin rights on SQL Server.
Resolution: Remove account from local administrator group and from SQL Server Logins. Add account again with the same privileges in local administrator group and SQL Server logins.

